| View previous topic :: View next topic |
| Author |
Message |
wahoofishing
Joined: 16 Jul 2014
Posts: 3
|
 Posted: Thu May 09, 2019 6:44 pm Post subject: Assistance with Chiook outhaul Posted: Thu May 09, 2019 6:44 pm Post subject: Assistance with Chiook outhaul |
 |
|
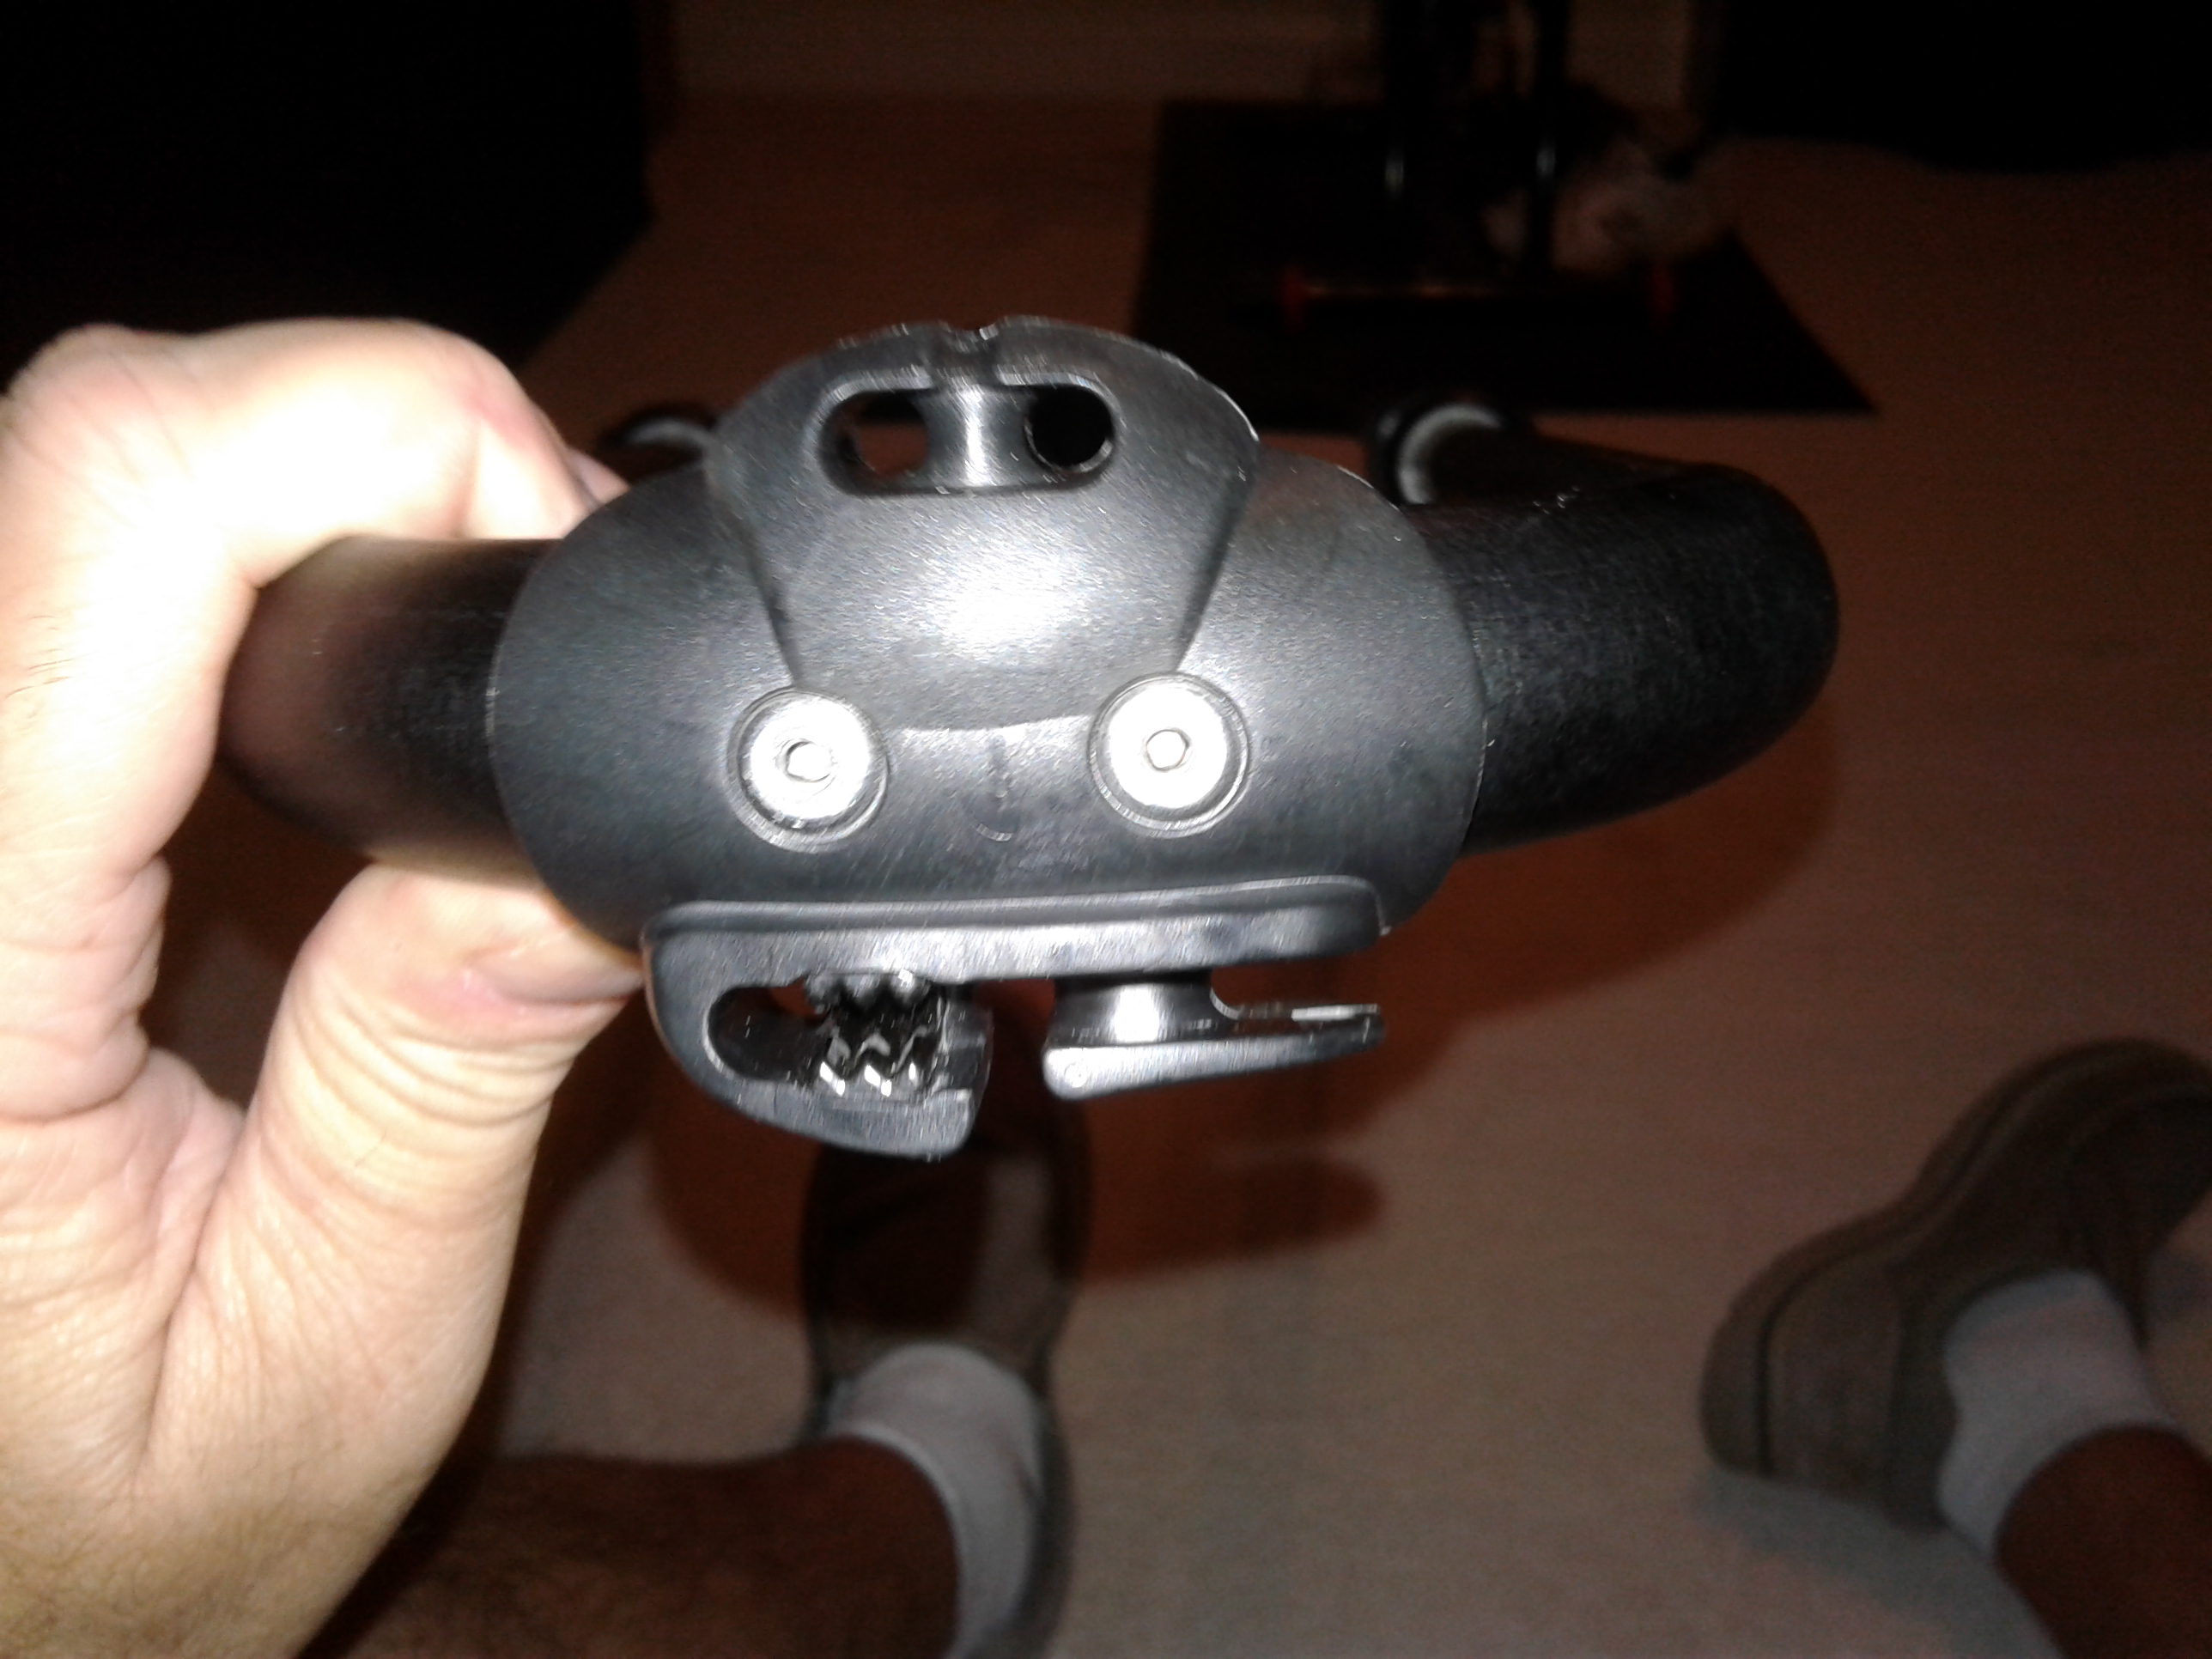
I am new to the sport and the equipment I have used was not like the one on this boom I bought online. Does anyone have a pic of how to run the line through this in the pick. Chinook does not have an example of this one on their site.
| Description: |
|
| Filesize: |
1.12 MB |
| Viewed: |
19133 Time(s) |
|
|
|
| Back to top |
|
 |
dhmark
Joined: 04 Sep 2007
Posts: 376
|
| Posted: Thu May 09, 2019 7:27 pm Post subject: |
|
|
My guess is its a loop and go system, where you have one knotted end at the top left hole, and the other end at the lower left hole (cleat). The loop will go through sail grommet, loop around post on bottom right, you pull on line at the cleat to tension.
The top 2 holes have a pulley in between in case you want to have some kind of adjustable outhaul and you use pulleys at the sail grommet.
|
|
| Back to top |
|
|
wahoofishing
Joined: 16 Jul 2014
Posts: 3
|
| Posted: Thu May 09, 2019 8:01 pm Post subject: |
|
|
| dhmark wrote: | My guess is its a loop and go system, where you have one knotted end at the top left hole, and the other end at the lower left hole (cleat). The loop will go through sail grommet, loop around post on bottom right, you pull on line at the cleat to tension.
The top 2 holes have a pulley in between in case you want to have some kind of adjustable outhaul and you use pulleys at the sail grommet. |
Thank you. The top pulley was what was making me struggle to find a solution.
|
|
| Back to top |
|
|
isobars
Joined: 12 Dec 1999
Posts: 20935
|
| Posted: Thu May 09, 2019 11:25 pm Post subject: |
|
|
| Is there a hole in the endpiece we can't see? If so, that's the starting point.
|
|
| Back to top |
|
|
wahoofishing
Joined: 16 Jul 2014
Posts: 3
|
| Posted: Fri May 10, 2019 5:43 am Post subject: |
|
|
| isobars wrote: | | Is there a hole in the endpiece we can't see? If so, that's the starting point. |
Where the pulley is on top on the other side there are two holes vs a slot you see in the pic. The only other hole is to the left of the cleat. I started on top using one of the hole on the other side of the pulley. It worked.
|
|
| Back to top |
|
|
isobars
Joined: 12 Dec 1999
Posts: 20935
|
| Posted: Fri May 10, 2019 7:39 am Post subject: |
|
|
With any new outhaul or downhaul pulley design I encounter, I start lacing at the cleat, work back from there without crossing any lines until I encounter the hole, then reverse that path when lacing it in the future.
If that makes no sense, speak up. It's an important technique because it works with any configuration I've ever seen.
|
|
| Back to top |
|
|
U2U2U2

Joined: 06 Jul 2001
Posts: 5467
Location: Shipsterns Bluff, Tasmania. Colorado
|
|
| Back to top |
|
|
Wind-NC.com
Joined: 30 May 2007
Posts: 980
Location: Formerly Cape Hatteras, now Burlington, VT!
|
| Posted: Fri May 10, 2019 9:58 am Post subject: |
|
|
Pardon my 30 second photoshop job, but hopefully this gets the point across:
Dhmark is correct, it's a loop and go system.
Keep both ends of the outhaul line knotted and threaded through their respective holes at all times. Take the middle length of line, pull it through the sail grommet (it will be doubled up, so it will look like you're pulling two lines through), and then loop it around the tab in the lower right hand corner of the tailpiece. Pull the knotted end that goes through the hole next to the cleat to tighten and/or loosen the outhaul.
| Description: |
|
| Filesize: |
74.86 KB |
| Viewed: |
19007 Time(s) |

|
_________________
formerly known as hodad.andy
http://wind-nc.com |
|
| Back to top |
|
|
U2U2U2
Joined: 06 Jul 2001
Posts: 5467
Location: Shipsterns Bluff, Tasmania. Colorado
|
|
| Back to top |
|
|
cgoudie1

Joined: 10 Apr 2006
Posts: 2599
Location: Killer Sturgeon Cove
|
| Posted: Fri May 10, 2019 3:10 pm Post subject: |
|
|
Outstanding. I've got several booms with a similar config, and I've never rigged them that way. Thanks!
-Craig
|
|
| Back to top |
|
|
|

